Transparency: Renovation Guide HQ carries no affiliate links. Every cost figure below is either linked to its published source or clearly labeled as a planning estimate. If you’d rather hire this out, contact us and we’ll point you toward the right questions for local tile pros.
By Renovation Guide HQ · Updated October 8, 2026
Quick Answer: How Do You Regrout a Shower?
Regrouting a shower means raking out the old, failing grout and packing in new grout — without removing any tile. DIY materials run $100–$250 (planning estimate); a pro charges $700–$1,500, per This Old House’s 2026 cost data. Expect a weekend of work: 4–6 hours of active labor plus 24–48 hours of cure time before the shower goes back in service. Regrout when the tile is solid but the grout is cracked, crumbling, or moldy — retile when tiles are loose or the wall behind them is soft.
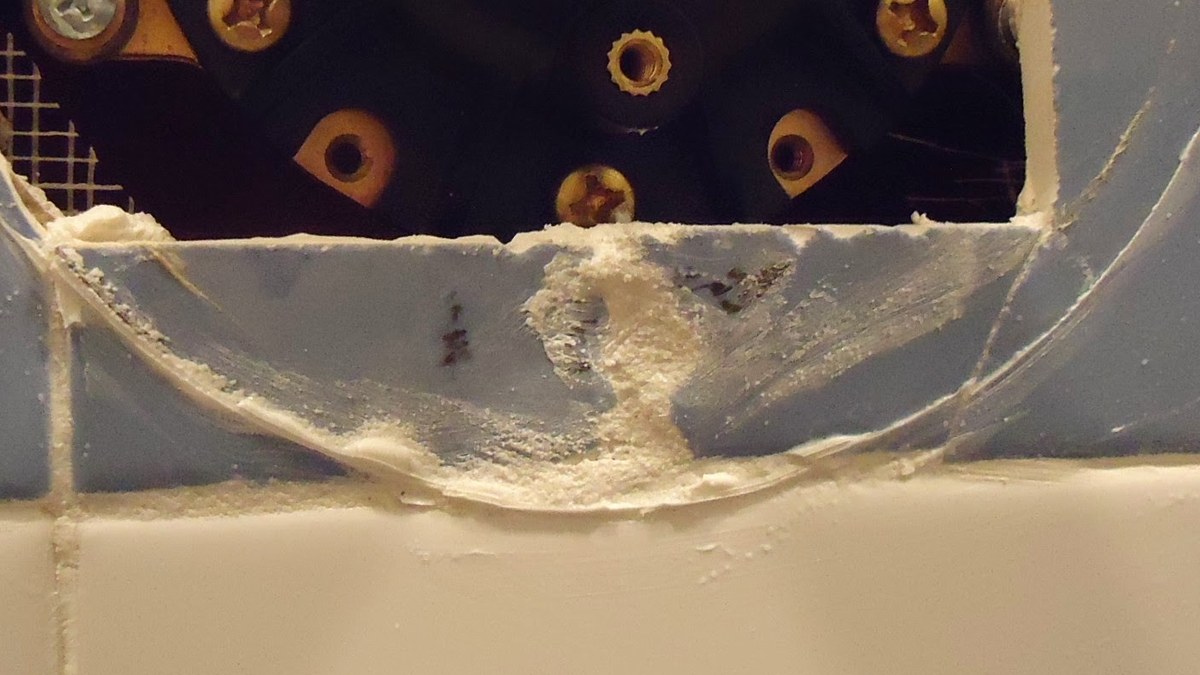
Shower grout lives the hardest life of any material in your home: daily hot water, soap film, steam, and temperature swings. Even good grout eventually cracks, stains, or harbors mold that no cleaner can reach. The good news is that failing grout does not mean a failing shower. If the tile itself is sound, regrouting restores both the look and the water resistance for a fraction of a re-tile — and it’s one of the most approachable DIY projects in the bathroom. Below: the honest regrout-vs-retile decision, the full tool list with costs, a numbered step-by-step, and the mistakes that turn a weekend refresh into a callback.
Should You Regrout or Retile? The Honest Decision
This is the first decision and the one that matters most, because regrouting a shower that actually needs retiling wastes a weekend and hides a growing problem. Run this assessment before buying anything, per professional tile repair guidance:
- Tap-test every tile. Knock on tiles with your knuckles the way you’d knock on a door. A solid tile sounds dull and firm; a loose or hollow tile rings differently. Hollow tiles have released from the wall — regrouting around them is pointless.
- Press the walls. Push firmly on the tiled walls, especially low near the tub or pan. Any softness or flex means water is already behind the tile, and no surface grout job will fix it.
- Check the corners and the tub junction. Cracked grout in corners is the most common failure and the easiest fix — but it should be replaced with flexible caulk, not more grout (more on that below).
- Look at the tile itself. Chipped, cracked, or missing tiles in multiple spots point toward retiling, per This Old House.
| Your situation | Best option | Why |
|---|---|---|
| Grout cracked, crumbling, or moldy — tiles solid and tight | Regrout | The tile assembly is sound; only the joints failed |
| Stained grout that won’t clean, tiles in good shape | Regrout | Fresh grout (or a darker color) resets the look completely |
| Cracked grout in corners and where walls meet the tub | Recaulk | Moving joints need flexible sealant, not rigid grout |
| Multiple loose or hollow-sounding tiles | Retile | Tiles have lost bond; grout can’t reattach them |
| Soft or flexing wall behind the tile | Retile | Water is behind the surface — the assembly has failed |
| You hate the tile itself or want a new layout | Retile | Regrouting won’t change tile you don’t like |
The cost gap makes the decision concrete: pro regrouting runs $700–$1,500 versus $1,800–$5,000 average for retiling, per This Old House — and HomeGuide puts retiling at $9–$37 per square foot. If your tile passes the tap test, regrouting buys you years for a fraction of the price. For full shower replacement costs, see our walk-in shower cost guide and tub-to-shower conversion cost guide.
Tools and Materials: What You Need and What It Costs
Regrouting needs no exotic equipment, but the right removal tool is the difference between a 3-hour job and a 3-day one. Everything below is standard US retail:
| Item | What it’s for | Typical cost |
|---|---|---|
| Manual grout saw | Hand-scraping old grout from joints | $8–$15 (planning estimate) |
| Oscillating multi-tool + grout blade | Power removal for larger showers (much faster) | $60–$120 tool (planning estimate); blades $25–$30 each — e.g., the Dremel grout blade at $24.90 or Milwaukee diamond blade at $29.97 |
| Grout float | Packing new grout into joints | $8–$15 (planning estimate) |
| Grout sponges + bucket | Wiping excess and shaping joints | ~$10 (planning estimate) |
| Grout (cement or epoxy) | The new joints | $15–$25 per 10 lb bag cement; $60–$100 per epoxy kit (planning estimate) |
| Penetrating grout sealer | Required for cement grout (not epoxy) | $29.71–$34.95 for 32 oz, per Amazon pricing |
| 100% silicone caulk + caulk gun | Corners, tub junction, changes of plane | $8–$12 per tube (planning estimate) |
| Safety gear | Goggles, gloves, dust mask for removal | ~$15 (planning estimate) |
All-in DIY materials for a standard shower land around $100–$250 (planning estimate) — consistent with This Old House’s “a few hundred dollars” for DIY regrouting. If you already own an oscillating tool, you’re at the low end; if you’re buying the tool and choosing epoxy grout, you’re at the high end. Either way, it’s roughly a tenth of the pro price.
Choosing Your Grout: Sanded vs. Unsanded vs. Epoxy
Grout choice is the second most important decision after the regrout-vs-retile call. The rule is simple and driven by joint width, per pro guidance and Rubi’s technical guide:
| Grout type | Use when | Strengths | Watch out for |
|---|---|---|---|
| Sanded cement | Joints 1/8 inch and wider — most shower floors | Strong, resists shrinkage; the workhorse for floors | Can scratch polished stone and glass; must be sealed |
| Unsanded cement | Joints under 1/8 inch — most shower walls | Smooth finish; safe for delicate tile | Shrinks and cracks in wide joints; must be sealed |
| Epoxy | Any shower, especially floors and heavy-use showers | Waterproof, non-porous, stain- and mold-resistant; never needs sealing | Costs 3–4x cement; sets fast; haze must be wiped as you go |
For a shower specifically, epoxy is the strongest choice — it’s the only grout that’s genuinely waterproof rather than merely water-resistant, and it never needs sealing. The trade-off is real: epoxy costs more, demands precise mixing, and punishes slow cleanup (haze left on tile faces is miserable to remove once cured). If you’re regrouting for the first time, cement grout is more forgiving to work with — just commit to sealing it properly. For the full grout comparison, see our bathroom tile selection guide.
One more selection note: match the new grout color to your actual tile, not a paper chart — and consider going a shade darker than the original. Mid-tone grey hides soap film and hard-water marks far better than white, which is why it’s the default recommendation wherever grout meets daily water.
Step-by-Step: How to Regrout a Shower
Work in this order. Times below are for a standard 3×5 shower surround; mosaic tile with dense grout lines takes longer at every step.
Step 1: Assess and tap-test (30 minutes)
Knock on every tile and press the walls for soft spots, as described above. If tiles are loose or walls flex, stop — you need a retile, not a regrout. Confirm your joint widths with a ruler so you buy the right grout type.
Step 2: Gather tools and materials (30 minutes)
Buy grout, sealer (if cement), silicone caulk, and any tools you lack before you start. Opening walls of dust mid-job to run to the store is how grout joints get contaminated. Lay everything out at the bathroom door.
Step 3: Protect the shower and ventilate (20 minutes)
Cover the drain so debris doesn’t clog it, mask the fixtures and the tub or pan edge with tape, and get airflow going — an open window plus the exhaust fan. Grout removal makes fine silica dust; wear your goggles, gloves, and dust mask from this point on.
Step 4: Remove the old grout (2–6 hours — the big step)
Rake out the failing grout with a manual grout saw or an oscillating tool fitted with a grout blade, per 21Oak’s walkthrough. Remove to at least half the tile’s depth — for standard 1/4-inch tile, that’s at least 1/8 inch of clean joint. Shallow removal is the number one cause of regrout failure: new grout smeared over old is a cosmetic touch-up that washes out, while grout keyed into a clean, deep joint is a seal, per pro repair guidance. Work steadily and keep the blade in the joint, not on the tile edges — chipped glaze can’t be undone. This is the most time-consuming part; don’t rush it.
Step 5: Clean the joints thoroughly (30–45 minutes)
Vacuum every joint to pull out dust and grit — leftover dust gets trapped in the new grout and weakens the finish, per Rubi. Follow with a damp cloth wipe-down. If mold was the reason for regrouting, scrub the joints with a mold-killing cleaner first and let everything dry completely before proceeding.
Step 6: Mix the grout (20 minutes)
Mix exactly per the package directions. The target consistency is smooth peanut butter — pliable, not dripping off the float, per Rubi’s mixing guide. A latex additive can substitute for water in wet-area mixes. Mix only what you can apply in about 30 minutes; grout hardens in the bucket faster than beginners expect, and epoxy is especially unforgiving.
Step 7: Pack the joints (1–2 hours)
Using the grout float held at a 45-degree angle, press grout firmly into the joints with diagonal strokes, per Rubi. Press hard — grout that doesn’t reach the bottom of the joint traps air bubbles that become weak spots and future cracks. Work in small sections (a few square feet at a time) so the grout doesn’t skin over before you sponge it.
Step 8: Sponge and shape (30–60 minutes)
After about 15 minutes of set time, wipe the tile faces with a damp (not soaking) grout sponge, rinsing frequently, per Rubi. Use light, diagonal passes — dragging or over-wetting pulls grout out of the joints and weakens them. If you’re using epoxy, wipe haze off the tile faces as you go; once epoxy haze cures, it’s extremely difficult to remove.
Step 9: Let it cure (24–48 hours — no shower use)
Keep the shower completely dry while the grout cures — 24 to 48 hours depending on the product, and up to 36 hours before sealing per 21Oak. This is the step impatient DIYers skip, and it’s the step that determines whether the job lasts 10 years or 10 months. Plan the household shower schedule around it.
Step 10: Seal cement grout (30 minutes + 24 hours drying)
Once cured, apply penetrating sealer to cement grout with a brush or applicator per the manufacturer’s directions. Epoxy grout skips this entirely — it’s non-porous and never needs sealing. Let the sealer dry a full 24 hours before the shower goes back in service, per This Old House.
Step 11: Caulk the corners and changes of plane (30 minutes)
Where two tiled walls meet, and where tile meets the tub or pan, use 100% silicone caulk — not grout. These joints move as framing expands and contracts, and rigid grout in a moving joint always cracks, per Floor Elf’s corner guide and pro practice. Remove any old caulk first, wipe the joint with rubbing alcohol, apply the bead, tool it smooth, and let it cure overnight.
What Regrouting Costs: DIY vs. Pro vs. Retile
| Option | Cost | Time | Best for |
|---|---|---|---|
| DIY regrout | $100–$250 materials (planning estimate) | Weekend: 4–6 hours active + 24–48 hours cure, per HomeGuide | Handy homeowners; standard cement grout |
| Pro regrout | $700–$1,500, per This Old House | 1–2 days, per HomeGuide; 8 hours or less for the work itself | Epoxy grout, mosaic tile, or no time to DIY |
| Pro retile (comparison) | $1,800–$5,000 average (This Old House); $9–$37/sq ft (HomeGuide) | 3–6 days | Failed tile assembly or a new look |
The DIY savings are real — roughly $500–$1,300 versus hiring out — but they’re earned in the removal step, which is pure labor. If you’re paying a pro, epoxy grout is worth specifying: it costs more in material but eliminates the sealing step and the resealing maintenance cycle, which is where cement grout’s long-term cost hides. For full bathroom project budgets, see our 2026 bathroom remodel cost guide and tile installation cost guide.
7 Regrouting Mistakes That Ruin the Job
- Layering new grout over old. HomeGuide is explicit: don’t do it — it cracks and can mask water damage. Rake out to proper depth or don’t bother.
- Grouting the corners. Corners and tub junctions are moving joints. Grout there always cracks; silicone caulk flexes, per Floor Elf.
- Wrong grout for the joint width. Unsanded grout in wide joints shrinks and cracks; sanded grout on polished stone or glass scratches the tile. Measure the joints first.
- Skipping the sealer on cement grout. Unsealed cement grout in a shower absorbs water, stains, and grows mold — the exact problems you just fixed. Seal after the full cure, not before.
- Over-wetting during sponge cleanup. A soaking sponge drags grout out of the joints and weakens what’s left. Damp, rinsed often, light passes.
- Shallow removal. Scraping only the surface leaves the new grout nothing to key into. Half the tile depth minimum — this is the step that separates 10-year jobs from 10-month jobs.
- Using the shower too soon. Grout that gets wet before it cures never reaches full strength. The 24–48 hour wait is non-negotiable — plan for it.
Regrout or retile — not sure which your shower needs? Describe what you’re seeing and we’ll help you read the signs — contact Renovation Guide HQ.
Regrouting FAQ
Can you put new grout over old grout without removing it?
No — not as a real repair. New grout needs a clean joint at least half the tile’s depth to bond into; smeared over old grout, it’s a cosmetic layer that cracks and washes out, and it can hide water damage underneath, per HomeGuide. The removal step is tedious, but it’s the entire foundation of the job.
How long does it take to regrout a shower?
A pro typically finishes in 1–2 days (HomeGuide), with the hands-on work taking 8 hours or less (This Old House). DIY takes a weekend: 4–6 hours of active work spread over 2–3 days, plus 24–48 hours of cure time and another 24 hours if you’re sealing cement grout. Mosaic tile takes longer at every step because of the dense grout lines.
How much does it cost to regrout a shower?
DIY materials run $100–$250 (planning estimate) — grout, a removal tool or blade, float, sponges, sealer, and caulk. Professional regrouting costs $700–$1,500, per This Old House’s 2026 data. Epoxy grout pushes DIY material costs toward the high end but eliminates sealing. For comparison, retiling averages $1,800–$5,000.
Should shower corners be grout or caulk?
Caulk — 100% silicone. Corners are changes of plane where two surfaces expand and contract in different directions; rigid grout can’t flex and always cracks there, per Floor Elf and standard pro practice. The same applies where tile meets the tub or shower pan. Note that caulk isn’t the waterproofing layer — that’s the membrane behind the tile.
Does new shower grout need to be sealed?
Cement-based grout (sanded or unsanded): yes, after the full 24–48 hour cure, with 24 hours of drying time for the sealer itself. Epoxy grout: never — it’s non-porous and maintenance-free by design. Skipping sealer on cement grout in a shower is the fastest route back to mold and staining.
How long does shower grout last before it needs regrouting?
With regular cleaning and sealing, cement grout can last well over a decade; without maintenance, expect trouble within 8–10 years. Pros suggest wet-area grout wants professional attention every 6–8 years, per The Handyman Company. Epoxy grout lasts substantially longer since it resists the moisture and staining that kill cement grout.
The Bottom Line
If your tile is solid and only the grout has failed, regrouting is one of the highest-value projects in the bathroom: $100–$250 in DIY materials (planning estimate) or $700–$1,500 for a pro, per This Old House, versus $1,800–$5,000 to retile. The job is 80% removal and patience — rake out to half the tile depth, pack the joints properly, let it cure the full 24–48 hours, seal cement grout, and caulk (don’t grout) the corners. Do those five things and the shower looks new and stays watertight for years. If the tap test found hollow tiles or soft walls, skip the regrout and price the real fix: our tile installation cost guide and 2026 bathroom remodel cost guide cover what retiling actually costs.
How We Estimated These Costs
Cost figures in this guide come from published 2026 sources: This Old House’s 2026 regrouting cost guide (pro $700–$1,500; retile $1,800–$5,000), HomeGuide’s regrouting cost data (timelines; retile $9–$37/sq ft), Rubi’s regrouting technique guide, 21Oak’s regrouting walkthrough, Floor Elf’s corner caulk guidance, The Handyman Company’s tile repair process, Home Depot grout-blade pricing, and Amazon grout-sealer pricing. Ranges explicitly marked “(planning estimate)” are our synthesis of typical US retail bands, not quotes from any single source. Figures are national; your market will differ. Last updated October 2026.